

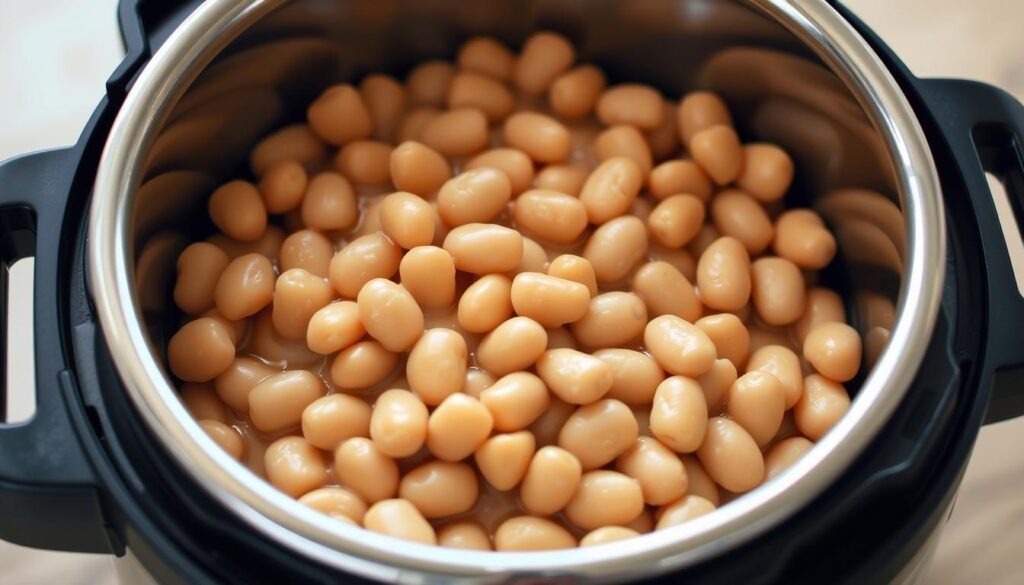
I show my step-by-step way of taking dried pinto beans to tender, flavorful results using a pressure cooker I trust. I use clear pressure settings, exact minutes, and the reliable 1 pound to 6 cups water baseline that keeps beans submerged and cooking even.
The Instant Pot is my go-to because it makes this recipe hands-off and faster than the stovetop. My approach gives richer texture than canned options and lets you pick simple or bold seasonings without extra fuss.
I set expectations on texture and timing so you can plan bowls, mashes, or meal-prep jars. I note key variables that change minutes: bean age, elevation, and desired doneness. I also explain when I add salt—after pressure cooking—so skins stay tender while flavor stays bright.
Key Takeaways
- Baseline ratio: 1 lb dried to 6 cups water for even cooking.
- No-soak timing: about 30 minutes high pressure plus natural release.
- Soaked beans take roughly half the active time.
- Add salt after pressure for best texture.
- Store cooked beans up to 4 days refrigerated or 3 months frozen.
Why I Use a Pressure Cooker for Pinto Beans Right Now
I reach for my Instant Pot when I want tender pinto quickly and without babysitting. A sealed pot shaves active time down to minutes and frees me for other tasks.
Faster than stovetop, better than canned. Unsoaked pinto beans become tender after about 25–30 minutes at high pressure plus a natural release. That yields creamier interiors and intact skins compared with canned options, and I control salt and flavor.
No‑soak convenience with rich, from‑scratch flavor. If I forget to soak, the pressure method still cooks evenly. Soaking can cut active minutes to roughly 15 at high pressure and may ease digestion, but it’s not required for great results.
“Once I nailed the minutes and release, my results were consistent every time.”
I use plain water when I want neutral beans, or broth for an instant flavor boost. The sealed pot traps aromas so spices infuse the liquid instead of evaporating away.
- I get dinner in under an hour, with most time hands-off.
- Repeatable minutes and natural release mean I stop second‑guessing doneness.
- The Instant Pot keeps the kitchen cool and my workflow smooth on busy nights.
Ingredients, Water Ratios, and My Flavor Boosts
A dependable base lets the rest fall into place. I start with a simple formula: 1 pound dried pinto beans and 6 cups water. That keeps everything submerged and cooks evenly in the pot under pressure.
Base formula: beans, water or broth, and salt
I often swap part of the water for low-sodium broth when I want deeper savory notes. I add salt after cooking—about ½ to 1 teaspoon—so skins stay tender and flavor bright.
Aromatics and spices I reach for
Classic choices are chopped onion, minced garlic, cumin, chili powder, and black pepper. Those aromatics bloom nicely in a sealed Instant Pot and give reliable Tex‑Mex flavor.
Optional add-ins
For heat I add jalapeño. For smoke I use smoked paprika or crisp bacon. A bay leaf or a small piece of kombu can round things out. When I’m short on prep, garlic powder stands in well.
how to cook pinto beans in a pressure cooker
I walk through the exact steps I use so every batch finishes tender and flavorful. My routine keeps prep simple and timing predictable.

Quick prep: sort, rinse, and load the pot
I sort a pound of dried pinto beans, removing any stones or shriveled pieces. Then I rinse beans under cool water until it runs clear.
I load the insert with the beans and about 6 cups water or low‑sodium broth so everything stays covered. I add onion, garlic, jalapeño, chili powder, cumin, and black pepper right in the pot.
Pressure and release: the exact buttons and timing I use
On my Instant Pot I press Pressure Cook (Manual) on High. I set 30 minutes for unsoaked dried beans or 15 minutes if I soaked them.
After it beeps I let at least 15 minutes of natural release, then quick release any remaining pressure and open the lid away from me.
Seasoning to finish and how much liquid to keep
I never add salt before pressure; I season after cooking with salt to taste. Stir and decide whether to keep extra liquid for bowls or drain for firmer results.
“Let the pot rest during natural release — it makes skins tender and flavors settle.”
- Pouring in boiling water speeds the pot coming to pressure.
- Stir well before sealing so nothing sticks and triggers a burn warning.
- For meal prep, portion beans with some cooking liquid to protect texture when reheating.
Cook Times That Actually Work (No-Soak vs Soaked)
I tune my pressure and natural release windows to match the beans’ age and the texture I want. That simple mindset keeps each batch consistent whether I use an Instant Pot or another electric pressure cooker.
No-soak baseline
25–30 minutes on high pressure followed by at least a 15-minute natural release is my default for dried pinto beans. Some cooks drop to 25 minutes with a full natural release and get the same creamy interior.
Soaked batch baseline
If I soaked beans 8–12 hours, I set roughly 15 minutes on high and still allow natural release. That cuts active program minutes and speeds up the recipe without risking split skins.
When I add time
- Older or long-stored dried beans: add 15–20 extra minutes on high.
- High elevation: plan about 20 more minutes because boiling points fall.
- Softer, mash-ready texture: add a few extra minutes rather than simmer after opening.
“If texture looks mixed after opening, I reseal for 3–5 more minutes and finish with a short natural release.”
Practical notes: I always use about 6 cups water per pound so beans stay submerged. Salt goes in after pressure. For meal planning, add 25–40 minutes for preheat and natural release when you set total time.
Equipment Notes: Instant Pot and Other Electric Pressure Cookers
I rely on solid gear notes so my batches are repeatable, whether I use an Instant Pot or another electric unit. A 6-quart Instant Pot Duo handles one pound and 6 cups water without crowding, which matters for even cooking and stable pressure.
Key controls: I press Pressure Cook (or Manual) on High and avoid specialty modes. Most units take roughly 10–15 minutes to come up to pressure, so I factor that preheat time into dinner plans.
I always check the sealing ring and set the steam release to Sealing. If I’m short on time, I start with very hot or boiling water to shave minutes off the preheat.
- I let at least 15 minutes of natural release for the most even results and to keep liquid from sputtering.
- Avoid overfilling; keep beans and water under the max line to prevent foamy spills and unstable pressure.
- After adding aromatics, I scrape the bottom so nothing burns and trips the unit’s warning.
- If using another electric cooker, I match the High pressure setting and mirror my minutes and release style, adjusting if my unit runs hotter or cooler.
“Small checks — ring seated, release on Sealing, and the right water level — prevent the most common mishaps.”
Finally, I let the pot cool a bit before refrigerating the insert. For faster chilling, I move beans and some cooking water into shallow containers.
Variations You’ll Love (From Simple to Smoky)
A few pantry changes let me serve the same base in very different meals. I keep the same 1 lb to 6 cups water ratio so pressure time stays consistent. That makes swapping flavors easy and predictable.

Weeknight-simple: When I’m short on time, I skip chopping and use pantry spices. Chili powder, cumin, garlic powder, and onion powder give bold flavor with almost zero prep.
Smoky & savory: For depth I add smoked paprika and use low-sodium broth for some or all of the water. Sautéed bacon in the pot first makes a rich base before pressure cooking, and a smoked ham hock tucked in during the cycle gives classic notes.
- I keep seasoning light if I plan refried beans, then finish with extra fat and spices when mashing.
- For gentle heat, a chopped jalapeño or a pinch of chipotle powder perfumes the cooking liquid.
- I balance added salt carefully when bacon or ham is used so the final dish isn’t oversalted.
“Every variation starts with the same base ratio, so I can customize flavor without changing the pressure timing.”
Serving Ideas, Leftovers, and Meal Prep
A single pot can feed several meals when I portion and season a batch for the week. I use the same basic cooking minutes and a small shake of salt after pressure release, then turn the pot into bowls, sides, or fillings.
Serve now: rice bowls, burritos, sides, soups, and chili
I spoon warm beans over rice with pico, lime, and cilantro for a fast bowl. I tuck them into burritos and quesadillas or serve them as a smoky side alongside grilled meats or roasted veg.
They also bulk up soups and chili, and mash quickly for skillet refried beans that finish with butter or oil and a squeeze of lime.
Make-ahead: fridge and freezer tips
Portioning helps. I store cooked beans in 2-cup containers—about the size of a 15-ounce can—so recipes scale without fuss.
- I refrigerate batches for 4 to 5 days and freeze extras up to 3 months, labeling date and seasoning.
- I keep a little broth in each container so the beans reheat silky instead of drying out.
- When thawing, I move containers to the fridge overnight or reheat from frozen gently with a splash of liquid, covered on the pot.
“Rotating the way I use a batch—bowl one night, side the next, then a soup—keeps meals fresh and interesting.”
Troubleshooting and Pro Tips
When a batch doesn’t turn out as planned, I run through a quick checklist before blaming the timer. A short set of checks usually fixes most texture and safety issues.
Beans too firm or splitting? Here’s what I do
If beans are still firm after opening, I reseal the pot and add 3–5 more minutes on high pressure, then allow another short natural release before checking again.
For very old dried beans I plan an extra 15–20 minutes. If many skins split, I increase the natural release time next batch and shave a few pressure minutes to reduce agitation.
Water levels, salt timing, and avoiding burn warnings
I keep the ratio generous—about 6 cups liquid per pound—so every bean stays submerged and cooks evenly. Rinse beans well before loading; clean beans taste better and limit scum.
I hold back salt until after pressure. Salting early can tighten skins and slow tenderizing. After adding spices or sautéing garlic, I scrape the bottom so the cooker won’t trigger a burn warning.
- I make sure the sealing ring is seated and the valve is on Sealing so the cooker builds pressure.
- At altitude, I add roughly 20 minutes and still allow natural release for balanced texture.
- If I need to stop carryover cooking fast, I vent, stir, and move portions into shallow containers to cool.
“Small checks — ring seated, enough liquid, and a calm release — solve most mishaps.”
Conclusion
What matters most is a dependable ratio, clear minutes, and a calm natural release for steady results. I rely on a strong, simple formula: 1 pound dried to 6 cups water, 30 minutes high pressure plus 15 minutes natural release for unsoaked, or 15 minutes plus 15 for soaked.
This way I get tender, flavorful beans that beat canned and give lean protein with little fat. I add salt after pressure and keep some cooking liquid for reheating or saucing bowls.
The key variables—bean age, elevation, and desired texture—are easy to manage by adding minutes or extending natural release. I portion cooked beans for up to 4 days in the fridge or freeze for 3 months so recipes stay quick all week.
Use an Instant Pot or similar pressure unit and this reliable way for bowls, sides, soups, chili, or refried dishes.


One Response